
รายละเอียดสินค้า
| ข้อมูล |
น้ำหนัก
บาร์โค้ด
ลงสินค้า
อัพเดทล่าสุด
|
| รายละเอียดสินค้า |
Product Brief
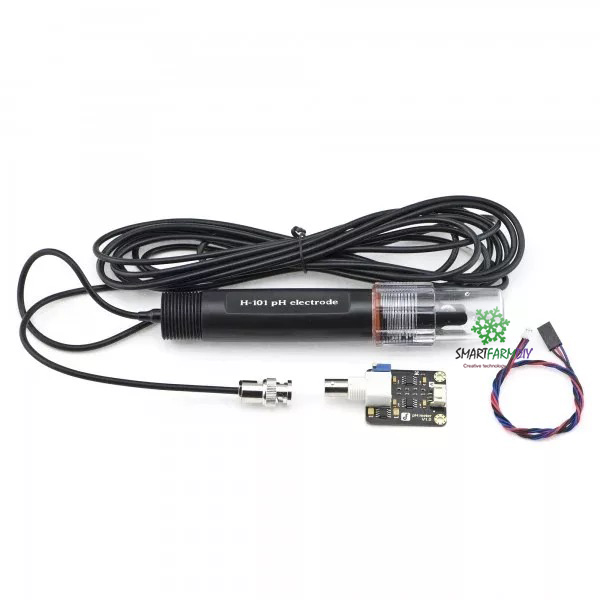
We have introduced a professional analog pH meter designed for Arduino controller. It uses industrial on-line electrodes. It has the characteristics of simple connection, convenient and practical, long service life and long-term on-line monitoring. On-board power supply indicator lamp, BNC interface and XH2.54 interface. When in use, the pH sensor is connected to the on-board BNC interface, and the on-board XH2.54 interface is connected to the analog port of the Arduino controller. Through the program control, you can easily measure the pH value of the solution. The industrial online pH composite electrode is made of low impedance sensitive glass membrane. It can be applied to pH measurement of various conditions. It has the characteristics of quick response and good thermal stability. It has good reproducibility, is not easy to hydrolyze, basically eliminates the alkali error, has a linear potential value in the range of 0 to 14pH, and the reference system composed of Ag/AgCl and gel electrolyte salt bridge has stable half cell potential and excellent antifouling property. Yes, the circular PTFE diaphragm is not easily blocked and can be detected online for a long time. This pH meter is very suitable for long-term on-line monitoring.
technical specifications
Modular Power Supply: +5.00V
Module size: 43 mm x 32 mm
Measurement range: 0-14PH
Measuring temperature: 0-60 C
Accuracy: +0.1 pH (25 C)
Response time: <1 min
Industrial On-line pH Sensor (BNC Interface)
XH2.54 Interface (3-foot patch)
Gain-regulated potentiometer power indicator lamp
Distribution list
Industrial On-line pH Sensor (BNC Interface) 1
PH Sensor Circuit Board 1
Block Analog Connection Line 1
Characteristics of pH Electrode
The output of the electrode is in the millivolt level, and the relationship between the output and the pH value is as follows (25 C).
Using steps
Be careful:
Please use external switching power supply to make the voltage as close as possible to + 5.00V. The more accurate the voltage is, the higher the accuracy is!
Standard buffer solution should be used to calibrate the electrodes before each continuous use. In order to get a more correct result, the environmental temperature should be around 25 C. The known PH value should be reliable, and the closer its PH value is to the measured value, the better. If the sample you measured is acidic, please use the buffer solution of PH4.00 to correct the electrode. If the sample you measured is alkaline, please use the buffer solution of PH9.18 to correct the electrode. Segmental calibration is only for better accuracy.
For each solution with different pH, the pH electrodes need to be cleaned with clean water. Deionized water is recommended for cleaning.
(1) Connect each device in a graphical way, that is, connect the pH electrode to the BNC interface of the pH meter circuit board, and then connect the pH meter circuit board to the analog port 0 of the Arduino master controller with an analog connection line. After power supply to the Arduino main controller, you can see that the blue indicator lights on the pH meter circuit board turn on.
(2) Write sample code for Arduino master controller.
(3) Insert the pH electrode into the standard solution with pH value of 7.00, or directly connect two inputs of BNC interface. Open the serial port monitor of Arduino IDE, you can see the current printed pH value, the error will not exceed 0.3. Record the value printed at this time, and then change the difference to the Offset in the program, compared with 7.00. For example, if the printed pH value is 6.88, the difference is 0.12. In the sample program, define Offset 0.00 is changed to define Offset 0.12.
(4) The pH electrode is inserted into the calibration solution with a pH value of 4.00. After waiting for one minute, the gain potentiometer is adjusted to make the printed pH value as stable as possible at about 4.00. At this point, the acid section calibration has been completed, you can test the pH value of the acid solution.
Note: When measuring other solutions, the electrodes must be cleaned.
(5) Depending on the linear characteristics of the pH electrode itself, the pH value of alkaline solution can be measured directly after the above calibration, but if you want to obtain better accuracy, it is recommended that the calibration be re-calibrated. The calibration of alkaline section adopts standard solution with pH value of 9.18, which also adjusts the gain potentiometer to stabilize it at about 9.18. After calibration, you can measure the pH value of the alkaline solution at this time.
Sample code
After downloading the sample code, open the serial port monitor of Arduino IDE and you will see the results.
/*
# This sample codes is for testing the pH meter V1.0.
# Editor : YouYou
# Date : 2013.10.21
# Ver : 0.1
# Product: pH meter
*/
#define SensorPin 0 //pH meter Analog output to Arduino Analog Input 0
#define Offset 0.00 //deviation compensate
unsigned long int avgValue; //Store the average value of the sensor feedback
void setup()
{
pinMode(13,OUTPUT);
Serial.begin(9600);
Serial.println("Ready"); //Test the serial monitor
}
void loop()
{
int buf[10]; //buffer for read analog
for(int i=0;i<10;i++) //Get 10 sample value from the sensor for smooth the value
{
buf[i]=analogRead(SensorPin);
delay(10);
}
for(int i=0;i<9;i++) //sort the analog from small to large
{
for(int j=i+1;j<10;j++)
{
if(buf[i]>buf[j])
{
int temp=buf[i];
buf[i]=buf[j];
buf[j]=temp;
}
}
}
avgValue=0;
for(int i=2;i<8;i++) //take the average value of 6 center sample
avgValue+=buf[i];
float phValue=(float)avgValue*5.0/1024/6; //convert the analog into millivolt
phValue=3.5*phValue+Offset; //convert the millivolt into pH value
Serial.print(" pH:");
Serial.print(phValue,2);
Serial.println(" ");
digitalWrite(13, HIGH);
delay(800);
digitalWrite(13, LOW);
}
Maintenance and precautions
When the electrode is used for the first time or not to be reused for a long time, the electrode ball and sand core are immersed in 3NKCL solution and activated for 8 hours.
After removing the protective cover of the electrode, it should be noted that the sensitive glass bubbles in the plastic protective grating are not in contact with the hard objects. Any breakage and rubbing will cause the electrode to fail.
When the measurement is finished, the protective sleeve of the electrode should be put on when not in use. A small amount of 3.3 mol/L potassium chloride solution should be placed in the protective sleeve to keep the electrode bulb wet.
The lead-out end of the electrode must be kept clean and dry, and the short circuit between the two ends of the output must be absolutely prevented. Otherwise, the measurement results will be inaccurate or invalid.
The electrodes avoid long-term immersion in distilled water, protein solution and acid fluoride solution, and prevent contact with organic silicone grease.
After long-term use, if it is found that the gradient is slightly in favor of the mainland, the lower end of the electrode can be immersed in 4% HF (hydrofluoric acid) for 3-5 seconds, washed with distilled water, and then immersed in potassium chloride solution to restore it.
The phenomenon of electrode passivation is that the sensitive gradient is reduced and the reading of goods is not accurate if the tested solution contains substances which are easy to contaminate the interface of sensitive spherical bubbles. In this way, according to the nature of pollutants, appropriate solutions should be used to clean and restore them.
When choosing cleaning agent, if you can dissolve the cleaning liquid of polycarbonate resin, such as carbon tetrachloride, trichloroethylene, tetrahydrofuran, etc., you may dissolve polycarbonate resin and coat it on sensitive glass bulb, which will make the electrode invalid. Please use it carefully!
 |
| เงื่อนไขอื่นๆ |
|
| Tags |
วิธีการชำระเงิน
ชำระเงินผ่านธนาคาร
 สมาร์ทฟาร์มดีไอวาย
สมัครสมาชิกร้านนี้ เพื่อรับสิทธิพิเศษ


บริษัท สมาร์ทเอไอโซลูชั่น จำกัด Inspried by smartfarmdiy.com
▲
▼
รายการสั่งซื้อของฉัน
รายการสั่งซื้อของฉัน
ข้อมูลร้านค้านี้

สมาร์ทฟาร์มดีไอวาย
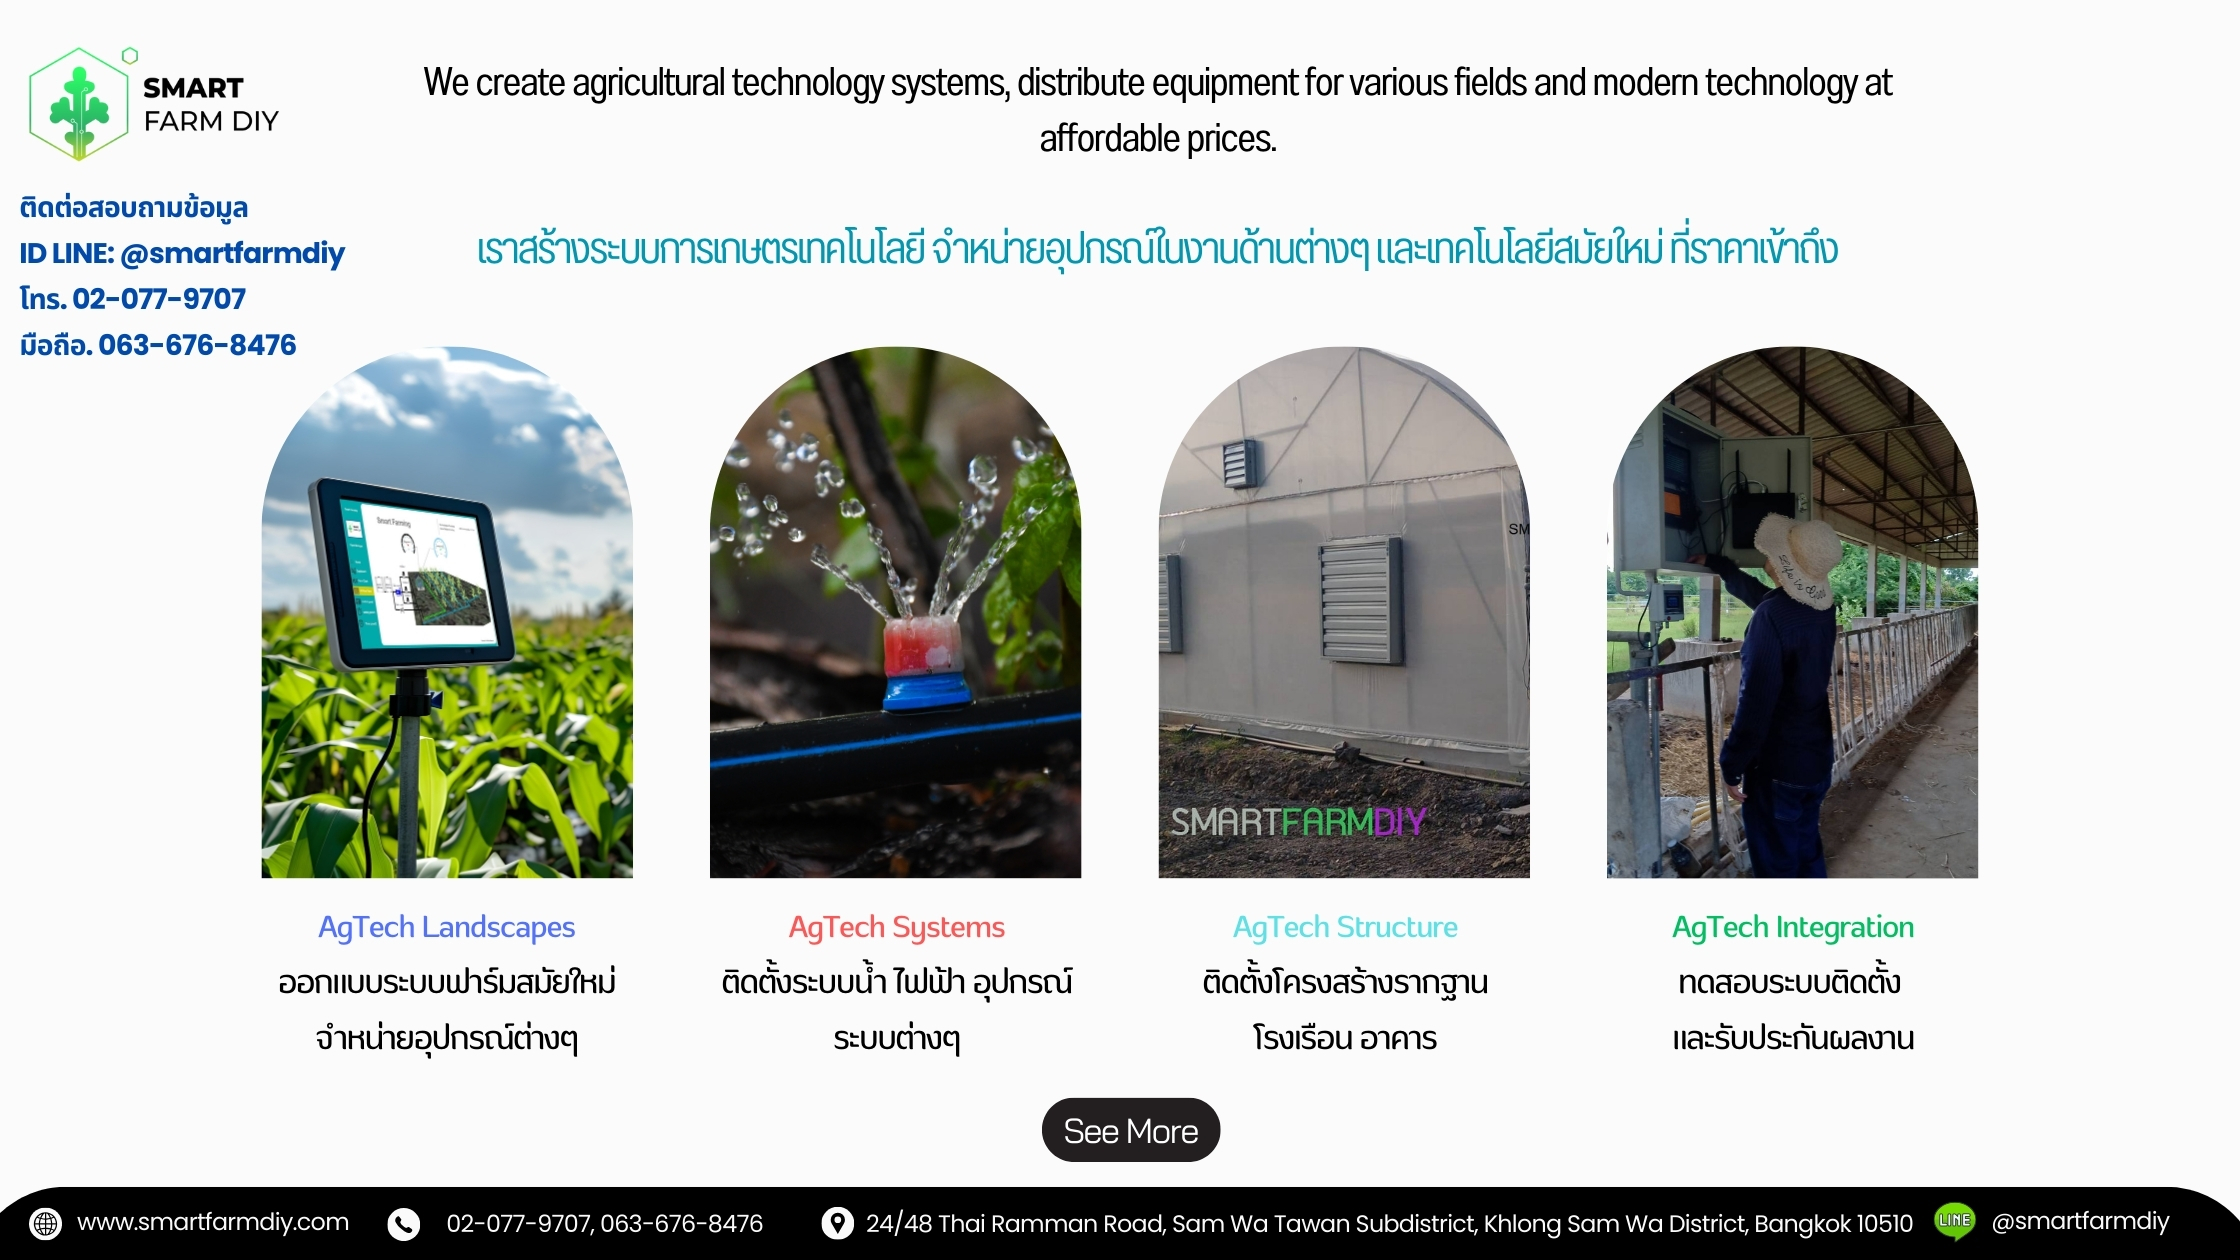
บริษัท สมาร์ทเอไอโซลูชั่น จำกัด รับก่อสร้างฟาร์ม โรงเรือนระบบปิด ระบบเปิด ขนาดเล็ก กลาง ใหญ่ plant factory โรงเรือนอัจฉริยะ ฟาร์มระบบอัตโนมัติและรับติดตั้งระบบควบคุมสมองกลอิเล็กทรอนิกส์ ทั้ง Industrial และ Non Industrial, Smart Farm ฟาร์มพืช ฟาร์มสัตว์ สำหรับเกษตรยุคใหม่ นอกจากนี้ยังจำหน่ายอุปกรณ์ ให้คำปรึกษา ออกแบบ แผนผังระบบฟาร์ม โรงเรือน งานจัดสวน งานออกโชว์ งานโมเดล ต่างๆ ที่เกี่ยวข้อง และจำหน่ายอุปกรณ์สินค้าทางการเกษตร อุปกรณ์เทคโนโลยีในงานเกษตร ต่างๆ สมาร์ทฟาร์มดีไอวาย เลขที่ประจำตัวผู้เสียภาษี : 0105560177872 LINE ID: @smartfarmdiy LINE ID: @smartfarmin
เบอร์โทร : 020779707
อีเมล : contact@smartfarmdiy.com
อีเมล : contact@smartfarmdiy.com
ส่งข้อความติดต่อร้าน
เกี่ยวกับร้านค้านี้
ค้นหาสินค้าในร้านนี้
ค้นหาสินค้า
สินค้าที่ดูล่าสุด
บันทึกเป็นร้านโปรด
Join เป็นสมาชิกร้าน
แชร์หน้านี้
แชร์หน้านี้
↑
TOP เลื่อนขึ้นบนสุด
TOP เลื่อนขึ้นบนสุด
สินค้าในตะกร้า ({{total_num}} รายการ)

ขออภัย ขณะนี้ยังไม่มีสินค้าในตะกร้า
ราคาสินค้าทั้งหมด
฿ {{price_format(total_price)}}
- ฿ {{price_format(discount.price)}}
ราคาสินค้าทั้งหมด
{{total_quantity}} ชิ้น
฿ {{price_format(after_product_price)}}
ราคาไม่รวมค่าจัดส่ง
รวมภาษีมูลค่าเพิ่มแล้ว
➜ เลือกซื้อสินค้าเพิ่ม